Client work
How to track client follow-ups in Notion
By OGA Studio ·
A client project can feel busy while one missing photo or decision quietly holds everything up. A useful request list answers three questions: what is missing, what would count as complete, and when will you check in again? Here is a small workflow you can build in Notion or use with Guardian Client Relay.
1. Make each request specific
Create a project, then record each missing deliverable as its own request linked to that project. “Website content” is difficult to close; “Three approved team photos for the About page” is something you can check.
Write the requirements where you will review the material: quantity, file format, destination and who needs to approve it. Keep contact details and the source email or file link nearby. Your client can continue using their usual email and file-sharing tools.
- Give the request one clear owner or contact.
- Link it to exactly one project.
- Define what you need before choosing a delivery date.
2. Separate the delivery date from the follow-up date
Wanted By means when you need the material. Next Follow-up means when you intend to contact the client. They are different decisions: you may check in before the delivery date to leave time for changes.
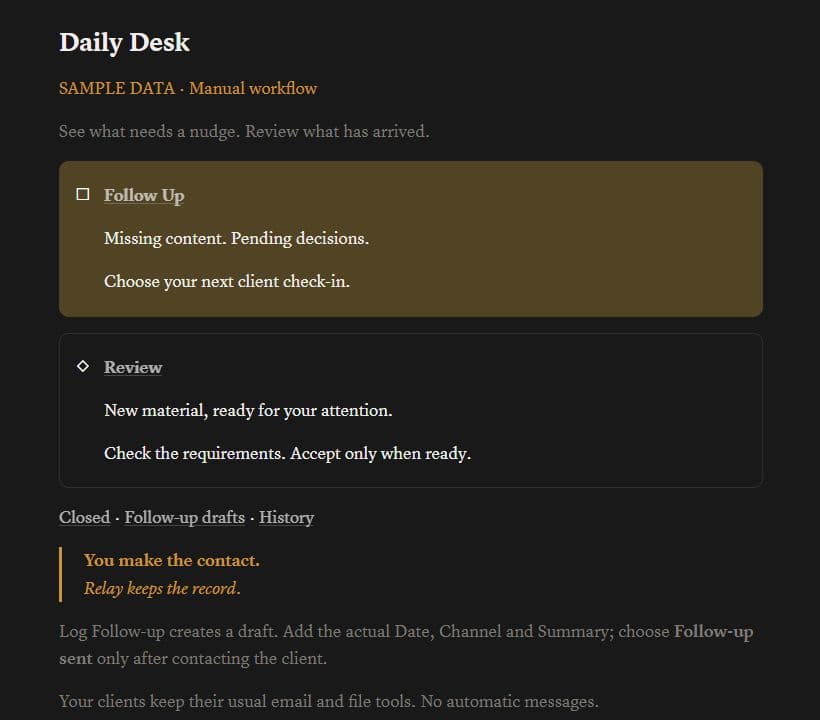
A blank follow-up date does not mean that everything is fine. It means the next action has not been planned. In Guardian Client Relay, missing required setup also affects whether an item appears in the working views.
| Field | Example entry |
|---|---|
| Request | Three approved team photos |
| Requirements | Three named JPG files, suitable for the About page |
| Requested On | Monday |
| Next Follow-up | Wednesday — check whether the files are ready |
| Wanted By | Friday — before the page review |
| State | Waiting |
3. Use a short daily review
Open the follow-up list, look at the actual dates, and decide which requests need attention today. A list of waiting items can include future dates; the fact that a card is visible does not mean it is overdue.
Send the message yourself using the channel your client already uses. A useful message names the missing item, links to the original requirements and asks for one specific next step. After sending it, record the contact and choose the next follow-up date.
- Review waiting requests for active projects.
- Check the date before contacting someone.
- Write down the actual date, channel and summary after contact.
4. Treat “received” and “accepted” as different states
When files arrive, move the request into review. Receiving three photos does not establish that they meet the size, content or approval requirements. Read the original request and inspect the material before closing it.
If something is incomplete, explain what is still needed and reopen the request. Keep completed items available for reference so you can distinguish a new request from a correction to an old one.
Using this workflow in Guardian Client Relay
Start in Setup: create the project, set it Active, and add a request linked to that project. Set the request to Waiting and fill the dates and requirements. Once the setup is valid, the request can appear in Daily Desk → Follow Up.
Log Follow-up creates a draft record. Fill its actual Date, Channel and Summary; choose “Follow-up sent” only after making contact yourself. The button does not email the client, and you set the request’s next follow-up date manually.
Mark Received moves eligible waiting requests into review. Accept & Close is for received material that you have checked. Receipt, acceptance and reopening do not automatically create history entries; add those records yourself when you need an event trail.
- Use a desktop or wider screen for initial setup.
- The template runs in your own Notion workspace.
- Clients do not need access, and there are no automatic client messages.